Introduction to the installation
What you need to have:
- Account on smarthost (the best is nvme series of packages)
- Django – version 4.2.1
- Python – version 3.9.16
- database – sqlite3
- SSH Access (you can enable your access on customer panel)
For the purposes of installation, the data required for the account
- Account name: janek
- Domain name: djdomena.pl (added in cPanel with generated SSL certificate)
- The name of the directory where the django applications will be – djapp
We start by logging into cpanel and looking for Software -> Setup Python App

We select the version of python, specify the path to the root directory of the application ( djapp ) and select our domain or subdomain.
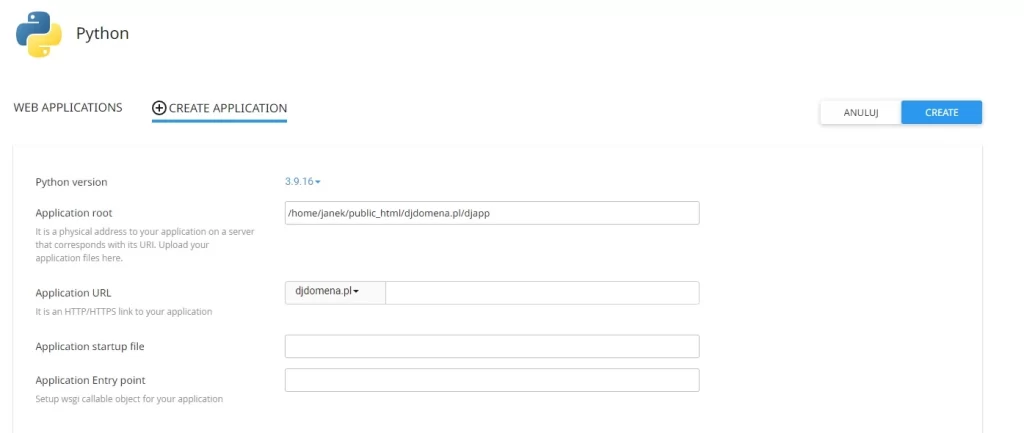
We have chosen python 3.9
/home/janek/public_html/djdomain.pl/djapp
Domain : djdomain.pl
We click on CREATE
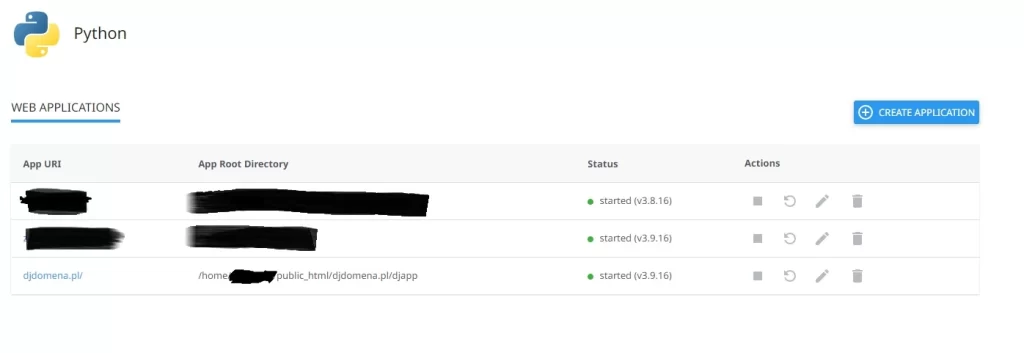
A virtual python environment and our djapp directory will be created.
Important! a message will be displayed on how to access virtualenv.
It is best to copy and save in a safe place.
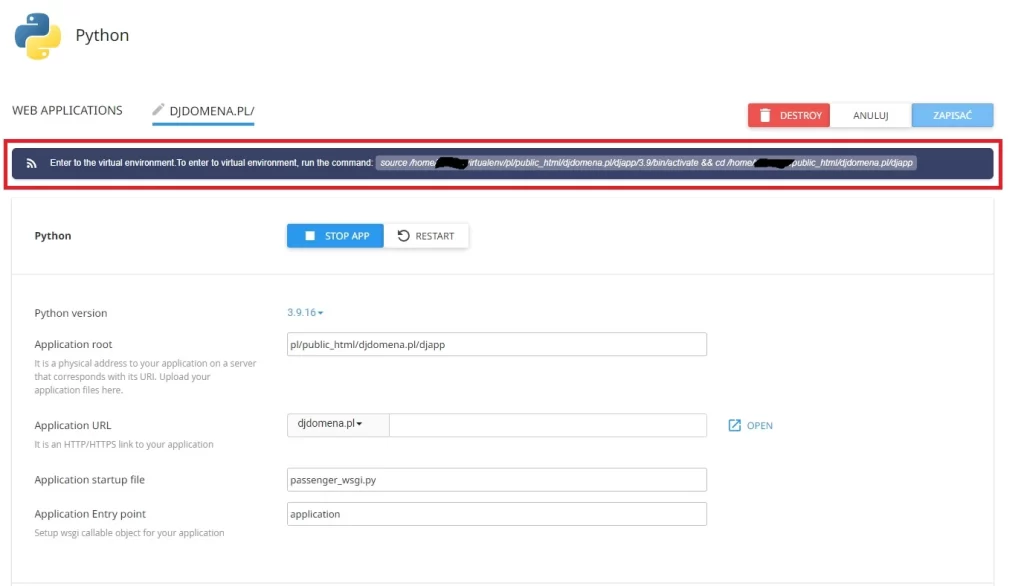
We log in via ssh and use the source command:
source /home/janek/virtualenv/public_html/djdomena.pl/djapp/3.9/bin/activate && cd /home/janek/public_html/djdomena.pl/djapp
View after the command has been executed:
((djapp:3.9)) {janek@serwer:djapp}$
Logging out of virtualenv: deactivate command
Install django ( if the specific version is django==4.2.1 ) with the command pip install django
After installation, the result on the console:
((djapp:3.9)) {janek@serwer:djapp}$ pip install django
Collecting django
Using cached Django-4.2.1-py3-none-any.whl (8.0 MB)
Collecting asgiref<4,>=3.6.0 (from django)
Using cached asgiref-3.6.0-py3-none-any.whl (23 kB)
Collecting sqlparse>=0.3.1 (from django)
Using cached sqlparse-0.4.4-py3-none-any.whl (41 kB)
Installing collected packages: sqlparse, asgiref, django
Successfully installed asgiref-3.6.0 django-4.2.1 sqlparse-0.4.4
We also install whitenoise
pip install whitenoise
Without this package, access to the django-admin panel will not use CSS styles.
Informative in our catalog
/home/janek/public_html/djdomena.pl/djapp
there should be directories : public, tmp and the files manage.py and passenger_wsgi.py
We create our first app with the command:
django-admin startproject mysite .
Next, we will first look at the passenger_wsgi.py file
You will need to customise/edit it with the following code
import imp
import os
import sys

sys.path.insert(0, os.path.dirname(__file__))
wsgi = imp.load_source('wsgi', 'mysite/wsgi.py')
application = wsgi.application
The most important is the line
wsgi = imp.load_source('wsgi', 'mysite/wsgi.py')
mysite is our app that we added a step earlier
Then we edit mysite/settings.py
We will be adding or editing
ALLOWED_HOSTS = ['djdomena.pl','www.djdomena.pl']
Configuration of whitenoise in the MIDDLEWARE section
"whitenoise.middleware.WhiteNoiseMiddleware",
This is what whitenoise should look like in the 2nd position:
MIDDLEWARE = [
 'django.middleware.security.SecurityMiddleware',
 "whitenoise.middleware.WhiteNoiseMiddleware",
 'django.contrib.sessions.middleware.SessionMiddleware',
 'django.middleware.common.CommonMiddleware',
 'django.middleware.csrf.CsrfViewMiddleware',
 'django.contrib.auth.middleware.AuthenticationMiddleware',
 'django.contrib.messages.middleware.MessageMiddleware',
 'django.middleware.clickjacking.XFrameOptionsMiddleware',
]
STATIC_ROOT = BASE_DIR / 'static'
We are launching our app to work
We need to be in the djapp directory
((djapp:3.9)) {janek@serwer:djapp}$ python manage.py migrate
Operations to perform:
Apply all migrations: admin, auth, contenttypes, sessions
Running migrations:
Applying contenttypes.0001_initial… OK
Applying auth.0001_initial… OK
Applying admin.0001_initial… OK
Applying admin.0002_logentry_remove_auto_add… OK
Applying admin.0003_logentry_add_action_flag_choices… OK
Applying contenttypes.0002_remove_content_type_name… OK
Applying auth.0002_alter_permission_name_max_length… OK
Applying auth.0003_alter_user_email_max_length… OK
Applying auth.0004_alter_user_username_opts… OK
Applying auth.0005_alter_user_last_login_null… OK
Applying auth.0006_require_contenttypes_0002… OK
Applying auth.0007_alter_validators_add_error_messages… OK
Applying auth.0008_alter_user_username_max_length… OK
Applying auth.0009_alter_user_last_name_max_length… OK
Applying auth.0010_alter_group_name_max_length… OK
Applying auth.0011_update_proxy_permissions… OK
Applying auth.0012_alter_user_first_name_max_length… OK
Applying sessions.0001_initial… OK
The next command is to add css styles to the django panel:
python manage.py collectstatic
((djapp:3.9)) {janek@serwer:djapp}$ python manage.py collectstatic
125 static files copied to '/home/janek/public_html/djdomena.pl/djapp/static'.
Add the user with the command:
python manage.py createsuperuser
((djapp:3.9)) {janek@serwer:djapp}$ python manage.py createsuperuser
Nazwa użytkownika (leave blank to use 'janek'): janek
Adres e-mail: janek@djdomena.pl
Password:
Password (again):
Superuser created successfully.
((djapp:3.9)) {janek@serwer:djapp}$
when entering the password, nothing is shown on the console.
We are almost at the very end!
Restarting the application can be done in 2 ways: in cpanel by clicking on restart:
or create a restart.txt file and the server will reload itself
touch tmp/restart.txt
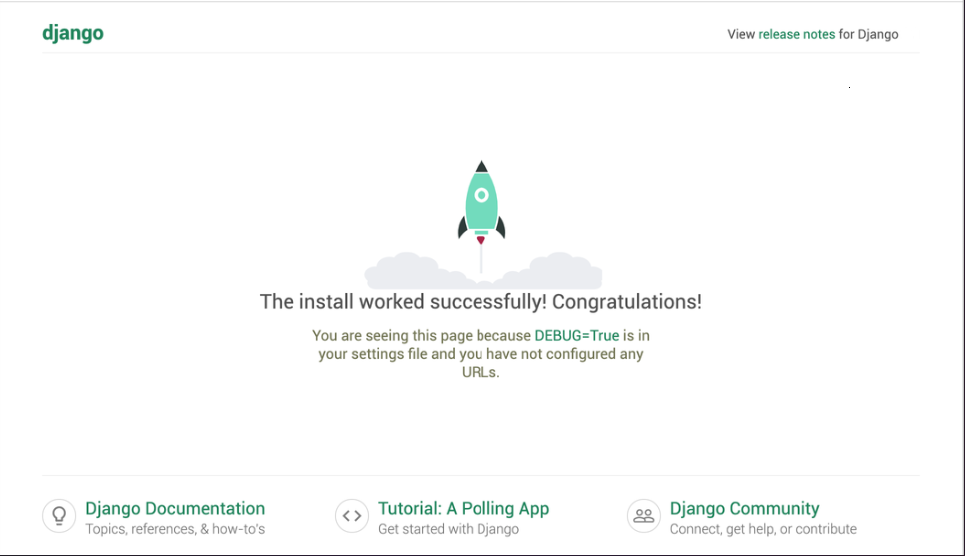
We check our site should be a basic template like this one:
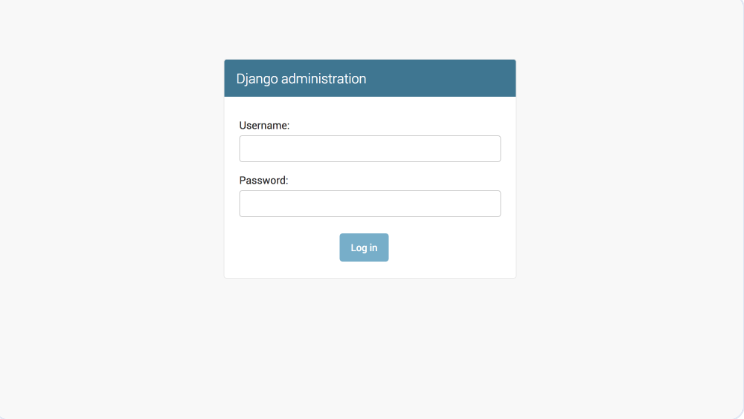
We can also log into the panel – the address is the name of our domain + admin/ ( Example https://djdomena/admin/ )
We have reached the end there are still a few prompts left but that will be in the next article.
Have fun with django.

- MX record configuration (mail handling) - August 14, 2024
- It is worth taking care of the current version of PHP. How should it be changed correctly? - August 14, 2024
- How to change email account password on cPanel? - August 14, 2024