We assume that you have already purchased hosting with cPanel management panel.
If you are faced with choosing a performance-proven hosting, compare our plans.
All descriptions in this guide are based on the Smarthost hosting
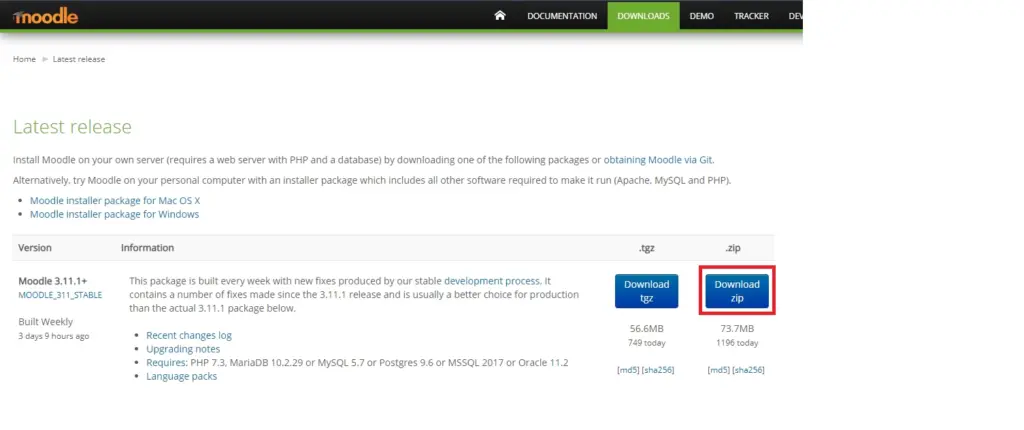
How do I download a file from Moodle?
To install Moodle on your server, you must first download it from the official website by clicking on the “Download zip” button.
How do I put Moodle files on the server?
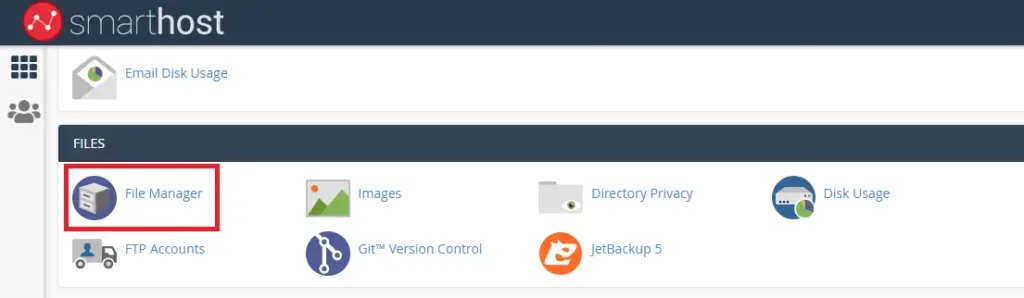
After downloading the file, enter the cPanel panel by going to the following internet address: www.customer-domain.eu/cpanel, where “customer-domain” is replaced with the address of our domain
After logging in to cPanel, click the “File manager” button.
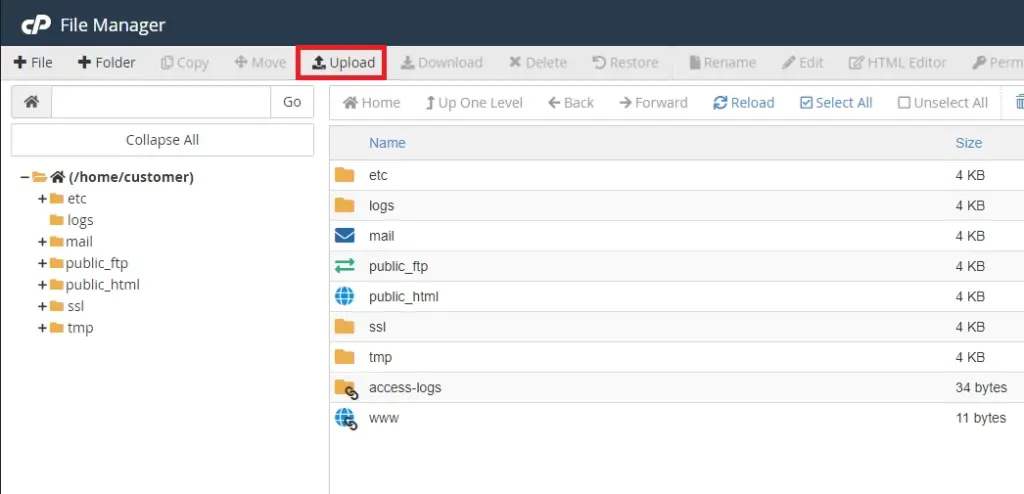
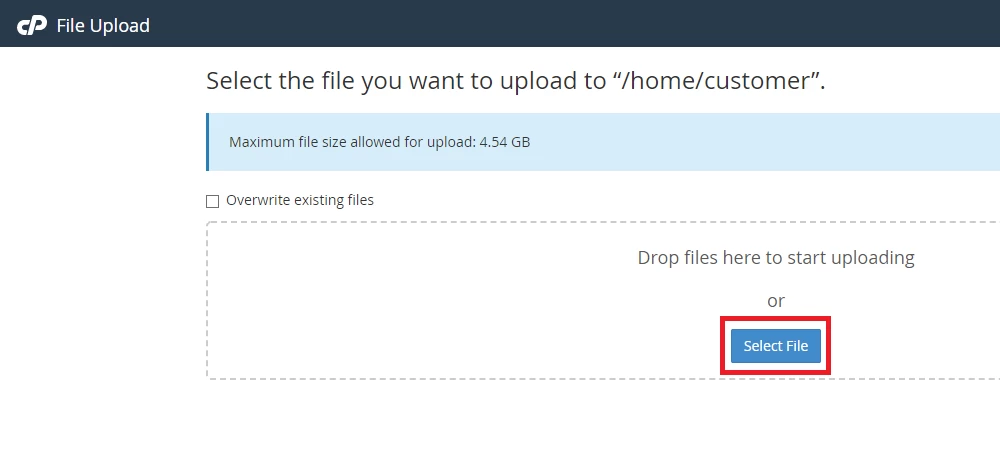
After the file manager loads, click the “Upload” button.
Then click the “Select File” button and in the newly opened window go to the folder on the computer that contains our downloaded Moodle file.
We select this file (compressed and still in .zip format) to approve for uploading to the server.
Another way is to click and hold the left mouse button on the file on our computer, and then drag the file to the browser window in the field “Drop files here to start uploading”.
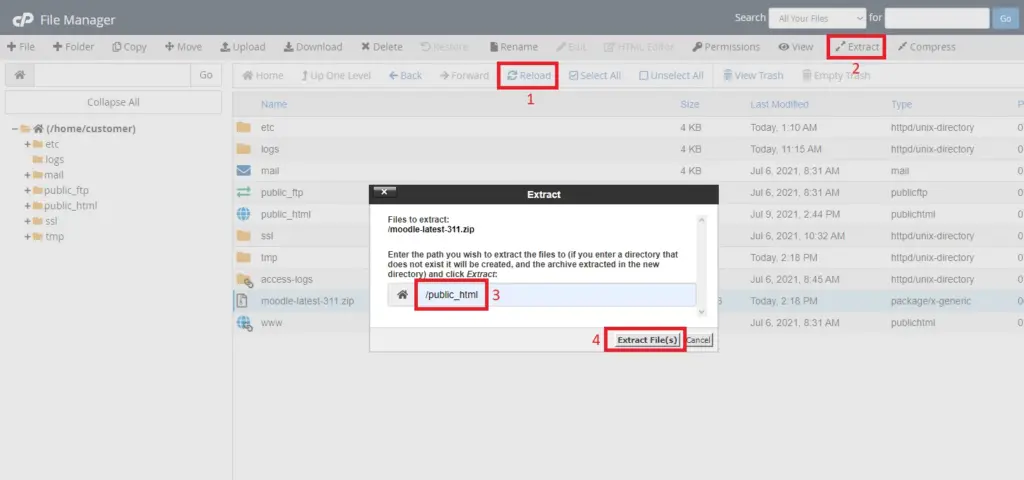
After placing the file on the server, click the “Reload” button (field 1) to refresh the view of our files.
Click once on the “Moodle” file (marked in blue) and then on the “Extract” button (field 2) to extract it on the server.
In the newly opened window, enter “/public_html” (field 3 – enter without quotation marks). It is a folder on our server that contains files loaded after entering the website.
Click the “Extract Files (s)” button (field 4) to start extracting.
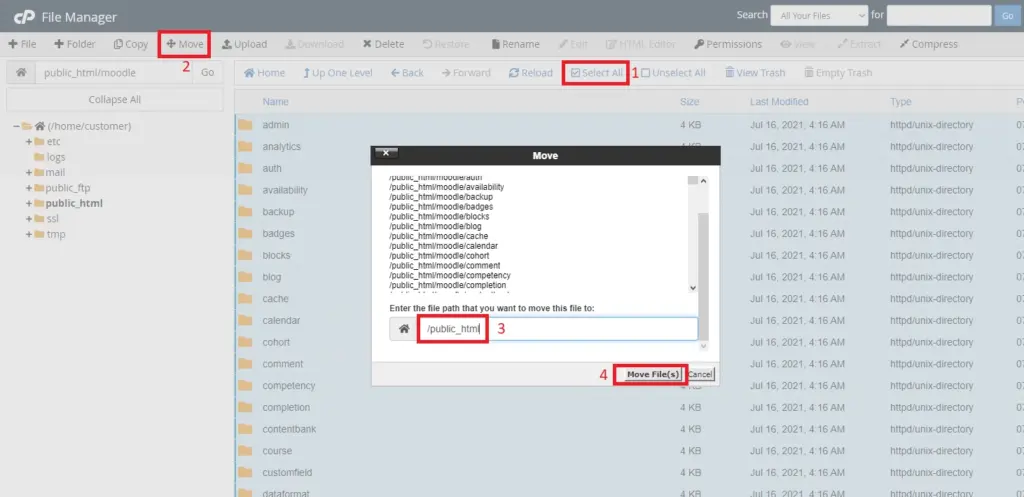
Then go to the newly created folder called “moodle” in the folder “public_html”.
Being in this folder, click on the “Select all” button (field 1).
Click the “Move” button (field 2) and in the newly opened window enter “/public_html/” (without the quotation marks – field 3). Then go to the “Move File (s)” field (field 4).
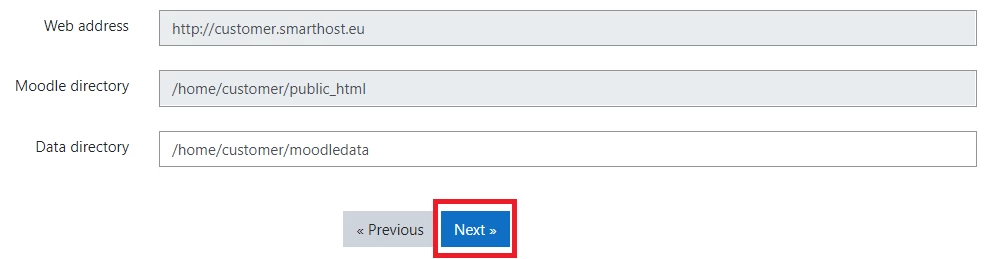
After transferring all files to the appropriate location on the server, enter the address of our website in the web browser (example: customer-domain.eu), which will start the installation of Moodle.
In the first step, select the language (field 1) and click the “Next” button (field 2). \
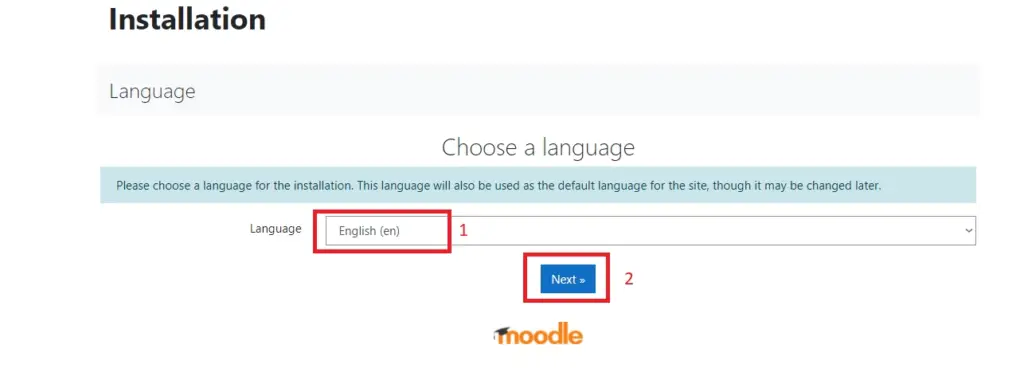
In the next step of the installation, click on the “Next” button.
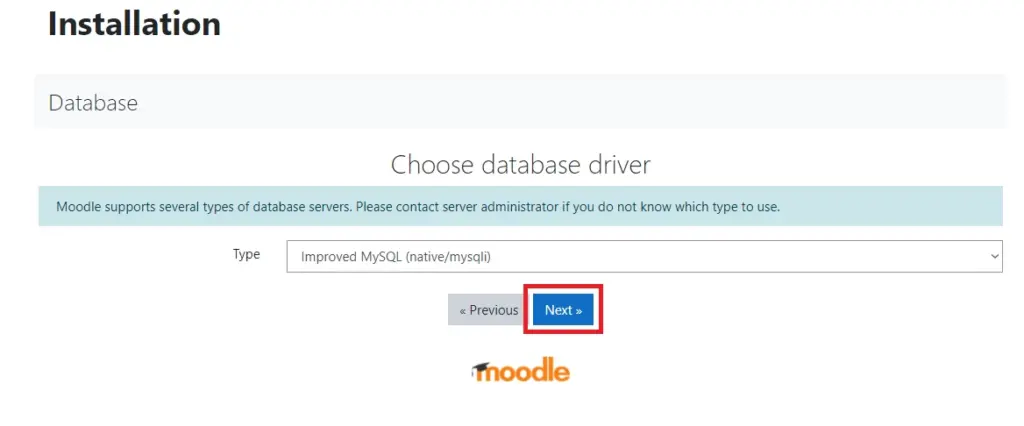
On the database driver selection screen, leave the settings unchanged and click the “Next” button.
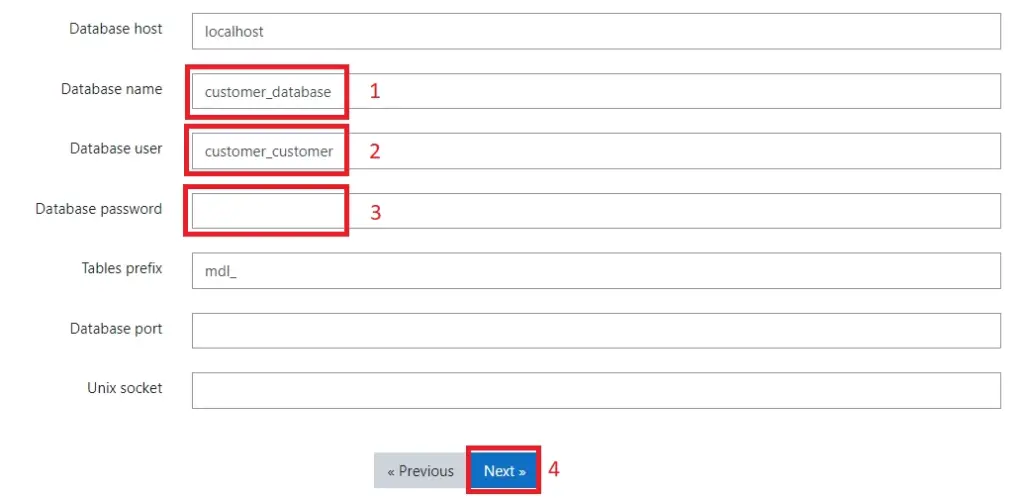
During the next step, we enter the information that we set when creating the database (guide “How to create a new mySQL database“).
In the “Database name” field (field 1), enter the name of our database (for example :customer_database).
In the “Database user” field (field 2), enter the username of our database (example: customer_customer).
In the “Database password” field (field 3), enter the password to our user’s database.
After completing the above fields, click the “Next” button (field 4).
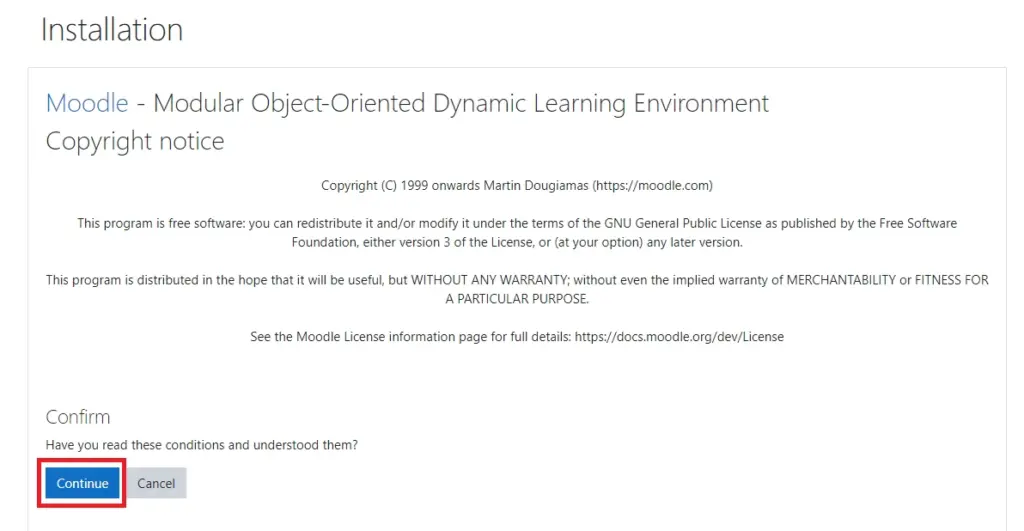
On the next screen, read the copyrights of Moodle and click the “Continue” button.
If the configuration was successful, click the “Continue” button again.

- Transferring WordPress from computer to server - June 20, 2024
- Step by step – WordPress Installation - June 20, 2024
- Installing PrestaShop – step by step - June 20, 2024