How to install Joomla 3 on your website?
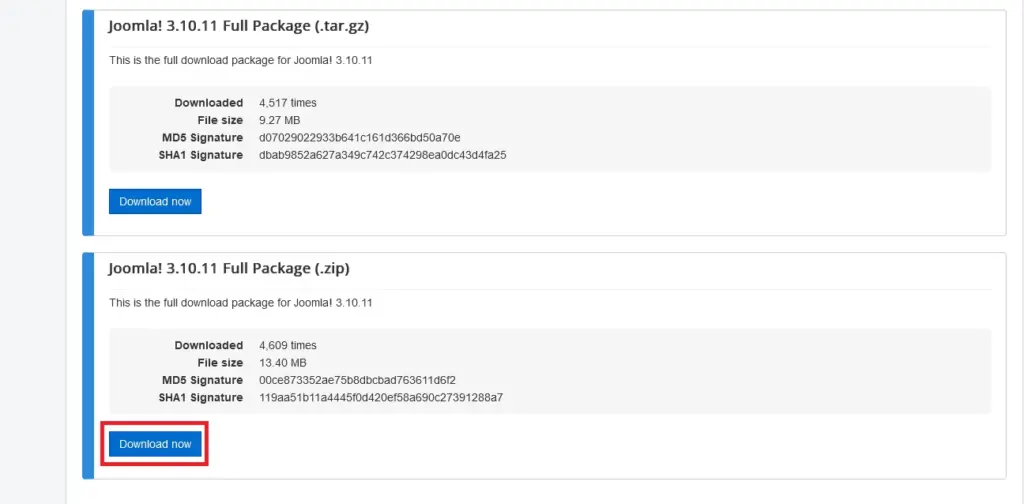
To install Joomla on your website, you must first download the installation file from official website joomla.org by clicking this link. On page, click “Downlad Now” under archive with desired extention (we recommend .zip)
How to upload a Joomla file to the server?
We assume that you have already purchased hosting with cPanel management panel.
If you are faced with choosing a performance-proven hosting, compare our plans.
All descriptions in this guide are based on the Smarthost hosting
After downloading the file, enter the cPanel panel by going to the following internet address: www.customer-domain.eu/cpanel, where “customer-domain” is replaced with your domain address.
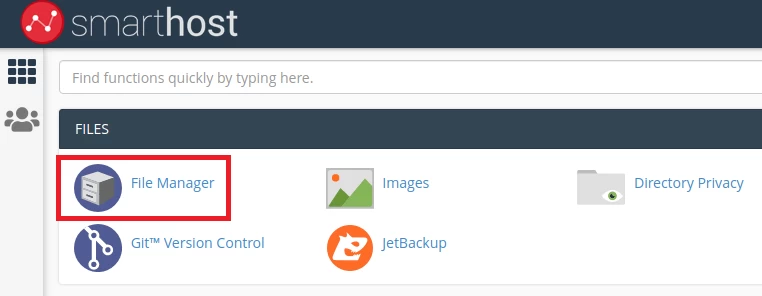
After logging in to cPanel, click the “File manager” button.
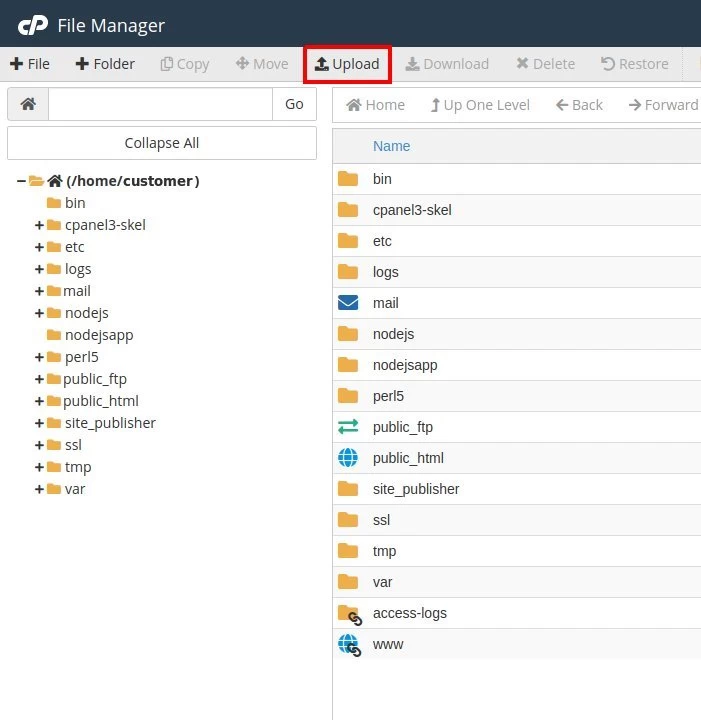
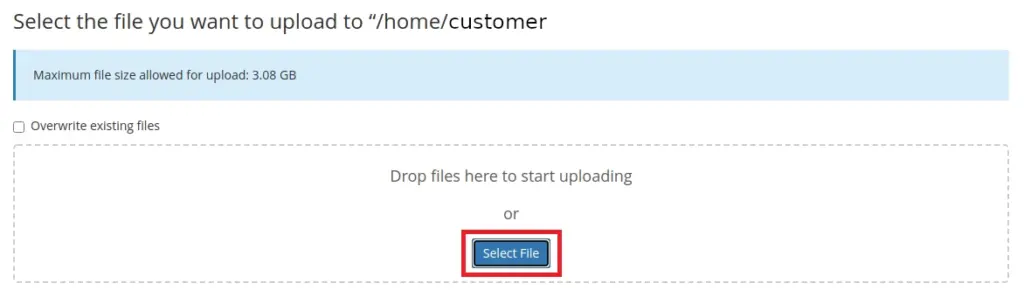
After the file manager loads, click the “Upload” button.
Then click on the “Select File” button and in the newly opened window go to the folder on the computer that contains your downloaded Joomla file.
We select this file (packed and still in .zip format), and then confirm it to be placed on the server.
Another way is to click and hold the left mouse button on the file on our computer, and then drag the file to the browser window in the field “Drop files here to start uploading”.
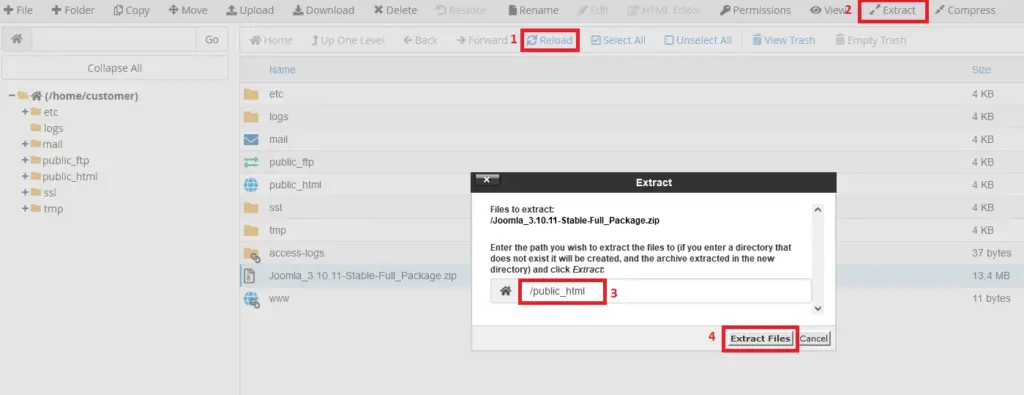
After uploading the file, click the “Reload” button (1) to refresh the view.
Click once on the “Joomla” file (marked in blue) and then on the “Extract” button (2) to extract it on the server.
In the newly opened window, enter “/ public_html” (3 – enter without quotation marks). It is a folder on our server that contains files loaded wile visiting your website.
Click the “Extract File (s)” button (4) to start extracting.
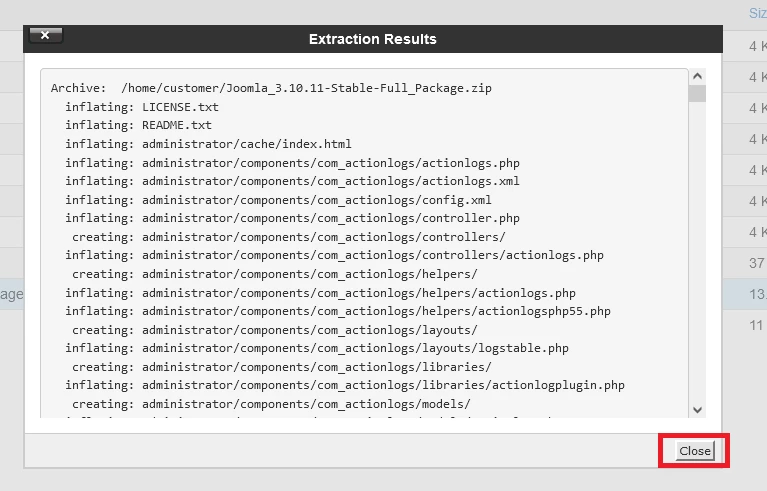
After unpacking the files, click the “Close” button.
How to properly install and configure Joomla?
After preparing the files on the server, we can start the Joomla installation.
We enter the address of our website in the web browser, e.g. www.customer-domain.eu. After entering the address, if everything was successful, we should see the Joomla installation screen, where we provide the information necessary for the installation.
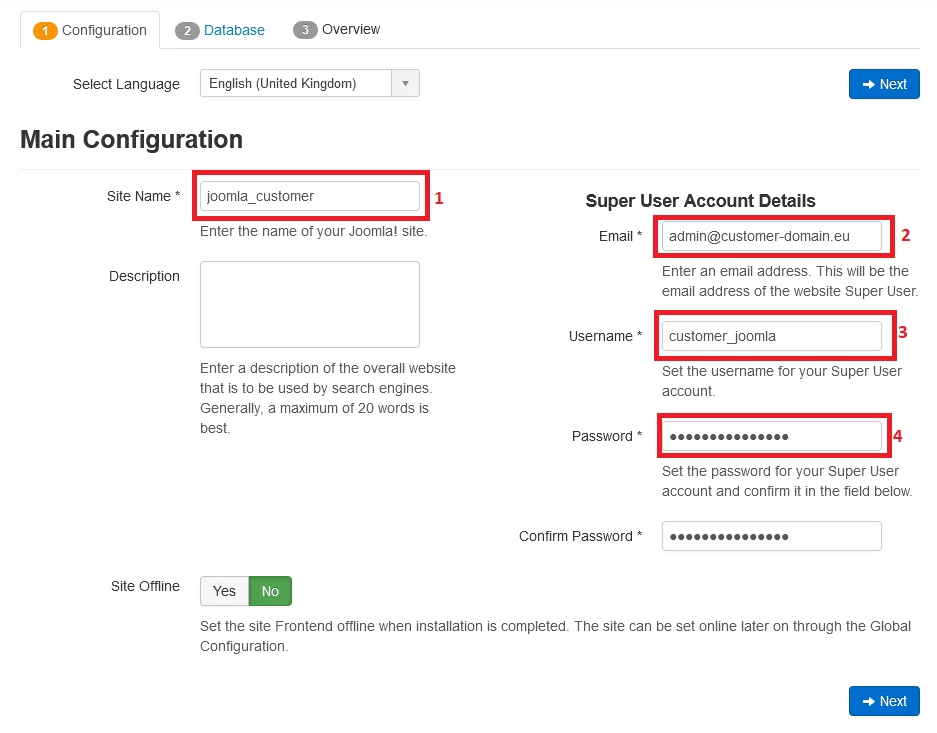
In the “Site name” field (1), enter the site name of your choice (example: joomla_customer).
In the “Email” field (2), enter email address. It can be an external email (eg your email on gmail.com) or an email set up on your server (guide “How to set up an email in cPanel”).
In the “Username” field (3), enter the name of the user who will manage our website (example: customer_joomla).
In the “Password” field (4) and “Confirm password”, enter the password to the administration panel.
After completing all the required information, click the “Next” button (field 5).
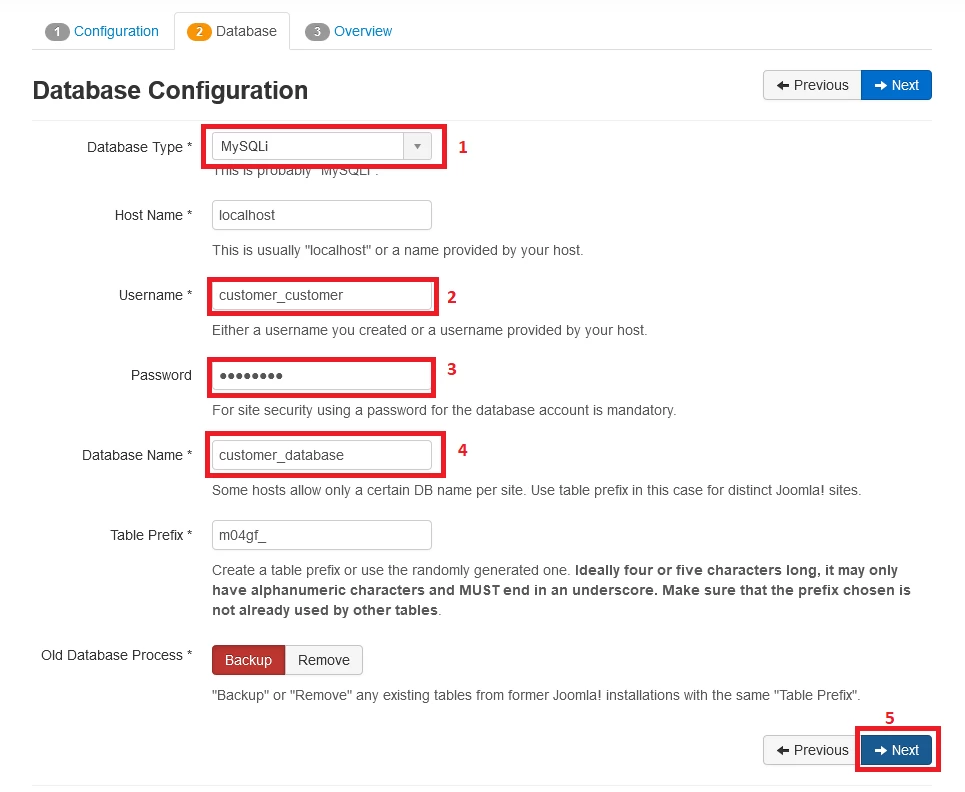
In the next step, complete the information about our database (guide “How to set up a database in cPanel”).
In the “Database type” field (1), make sure that “MySQLi” is selected.
In the “Username” field (2), enter the name of the user assigned to our database (example: customer_customer).
In the “Password” field (3), enter the password of our database user.
In the “Database name” field (4), enter the name of our database (example: customer_database).
After completing all the required information, click the “Next” button (5).
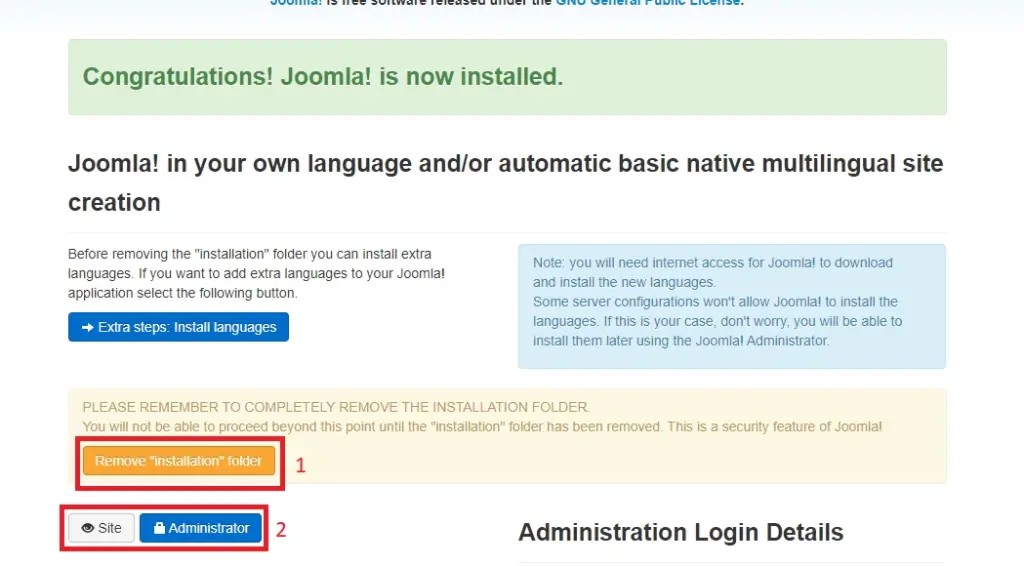
If we have performed all the steps correctly, a screen should appear informing us about the successful completion of the installation.
On this screen, click the “Remove installation folder” button (1) to remove all unnecessary Joomla installation files.
After clicking the “Site” button, we will be redirected to our website. If you select “Administrator” (2), you will go to the login screen of the administration panel.
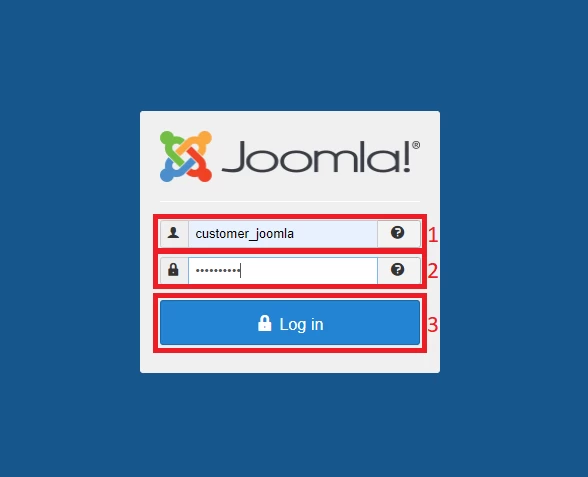
To log in to the administration panel at a later time, enter the address of our website in the web browser and add “/ administrator” to it (example: www.customer-domain.eu/administrator).
In the “Username” field (1), enter the name of the user managing our website (example: customer_joomla).
In the “Password” field (2), enter the password of the user managing our website. Click the “Log in” button (3) to log in after entering the data.
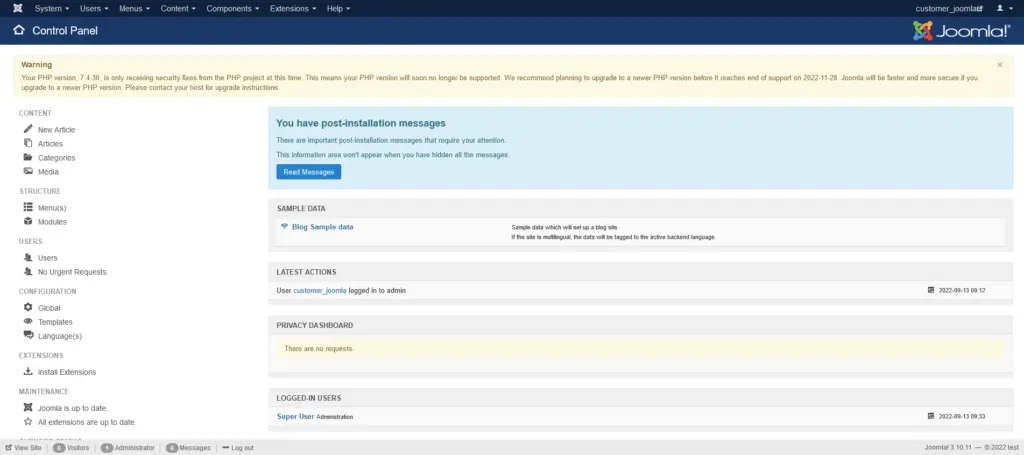
After logging in, the administration panel of our website will open, where we can start building our website.
Create a free test account on the Smarthost.au server and check how properly installed Joomla works.
Create a test account with the GOLD-www plan

- Transferring WordPress from computer to server - June 20, 2024
- Step by step – WordPress Installation - June 20, 2024
- Installing PrestaShop – step by step - June 20, 2024