
To easily install the Moodle application using the Softaculous auto-installer, log in to cPanel, then under Software, go to Softaculous Apps Installer.
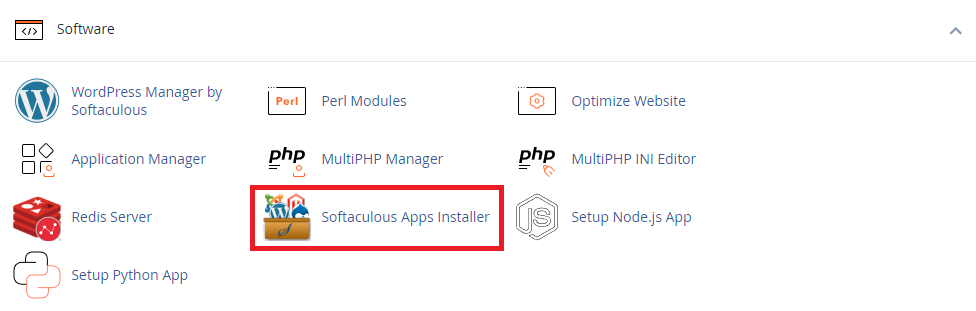
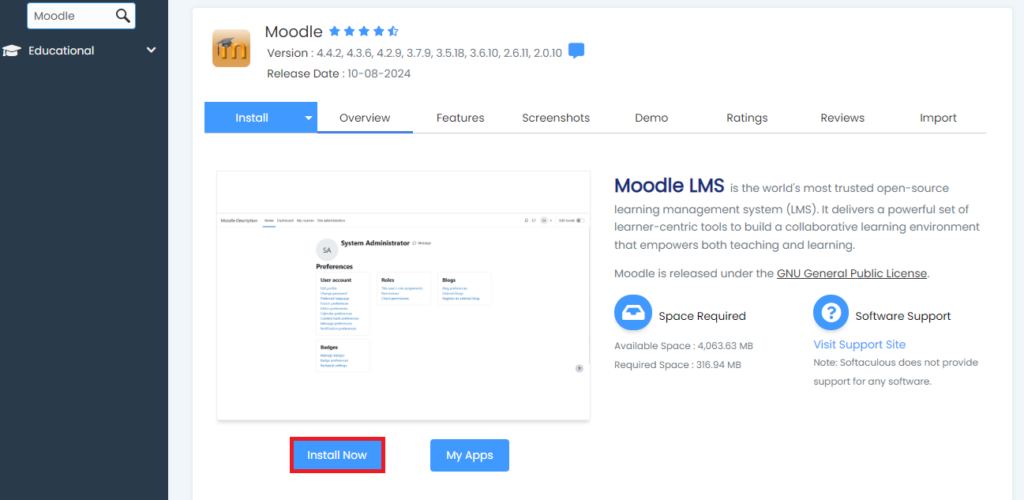
In the Softaculous Apps Installer auto-installer on the left, search for the phrase “Moodle” or alternatively find the application on its own in the Educational category. Then press the blue Install Now button.
We will be shown the Moodle installation configuration page.
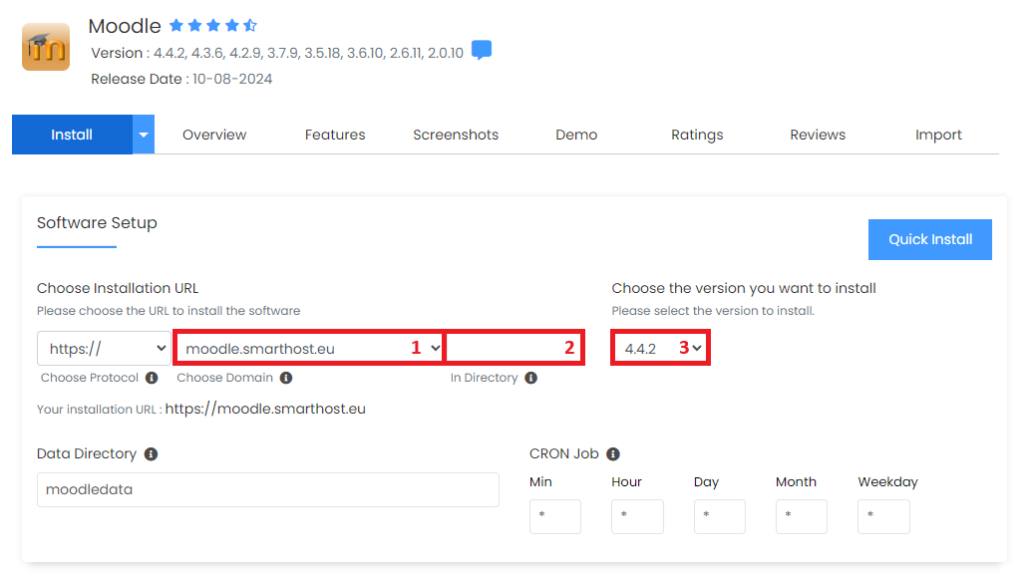
- The place where you should select the domain on which you want to install the Moodle application.
- The directory where you want to install the Moodle application e.g. when you type moodle directory our application will be installed in moodle folder, and it will be available at: https://selected-domain.eu/moodle/ – if you want the page to be displayed using the address https://selected-domain.eu you should leave it blank here.
- Ability to select the version of the application you want to install.
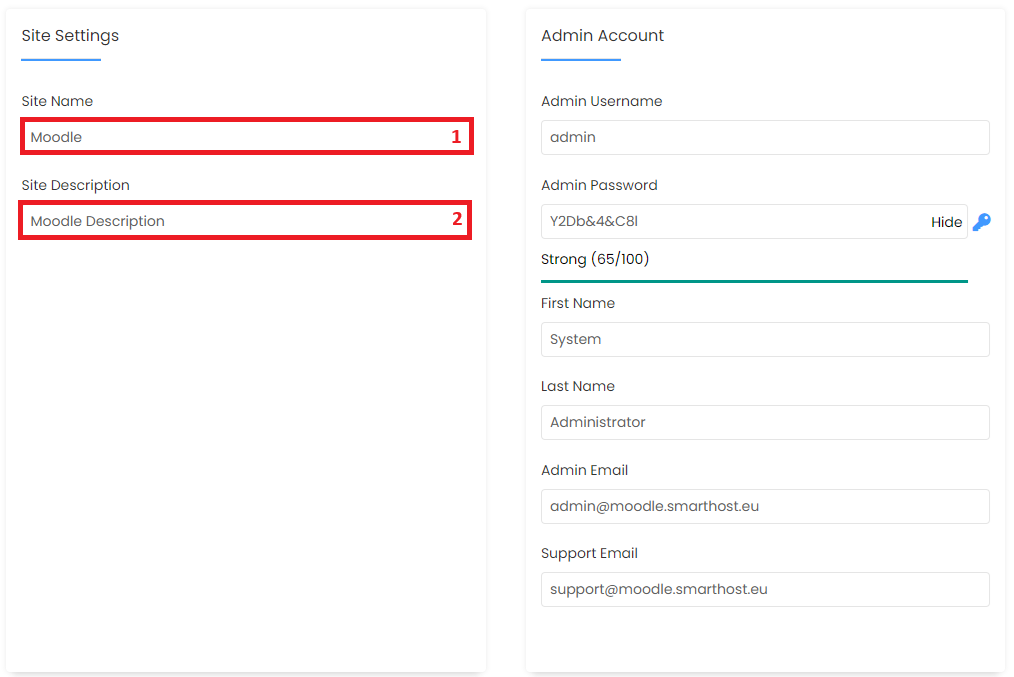
- “Site Name” – here we enter the name of our site.
- “Site Description” – here we enter a description of our site.
In the section Admin Account – we set the name, email address and password for the administrator account. Be sure to set a strong password!
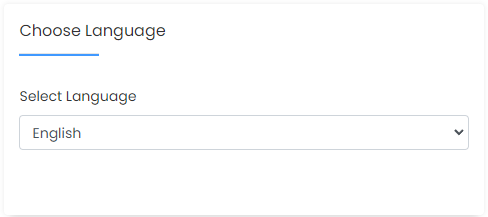
Below, you can additionally select the language in which you want our application to be installed.
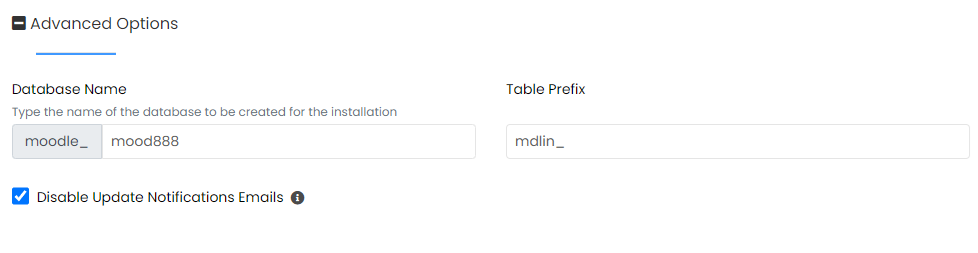
In the last section Advanced Options, we can set the database name to our preference and disable update notifications.
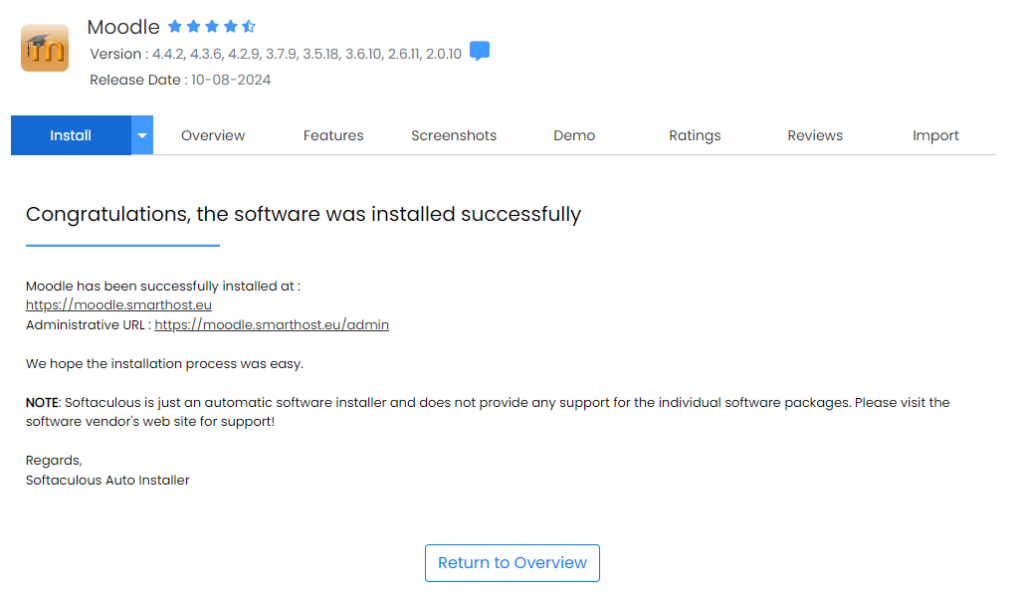
The last thing that remains is to press the Install button. After a while, a message will appear informing you that the software has been successfully installed.

- Free SSL certificates at smarthost.au and DNS zone at a third-party provider - October 3, 2024
- How to install an EV certificate? - October 3, 2024
- How do SSL certificates work? What are the types of SSL certificates? - October 3, 2024