sume that you already have a hosting with a cPanel management panel.
If you are faced with choosing a proven hosting, compare our plans. All descriptions in this guide are based on Smarthost.au hosting
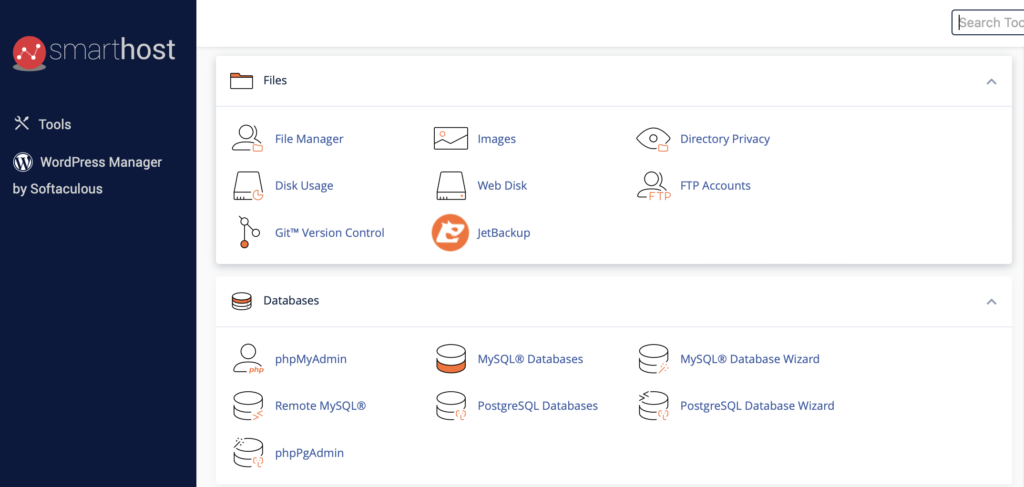
To set up a new MySQL database, click on the “MySQL databases” button on the cPanel main screen.

Then enter the name of the database you want to create (field 1, the name is arbitrary) and click on the “Create database” button (field 2).

After the database is created, a notification will appear confirming successful creation. On this screen, click the “Back” button to return to the database management screen.

To create a new user in the database management panel, enter the desired name in the “Username” field (field 1).
Fill in the “Password” field with the selected password, or click the “Generate password” button. Thanks to it, we will automatically generate a secure password, which we can then copy.
After completing these fields, click on the “Create user” button (field 2).
The next step is to assign the created user to the appropriate database. We do it in the database management panel under “Add user to database“.
In the “User” field, select the user you want to assign to the database, and in the “Database” field, select the database to which the user is to be assigned. Then click on the “Add” button.
In the next step of assigning a user to the database, select the permissions he should have. We do this by selecting appropriate check boxes. After selecting the desired permissions, click on the “Make changes” button.
In the database control panel, in the “Current databases” section, we can see the databases we have created and the users assigned to them.
Create a free test account on the Smarthost.au server and check how a properly configured mySQL database works:
Create a test account, gold-ssd-www package
- Transferring WordPress from computer to server - June 20, 2024
- Step by step – WordPress Installation - June 20, 2024
- Installing PrestaShop – step by step - June 20, 2024

